

-
01
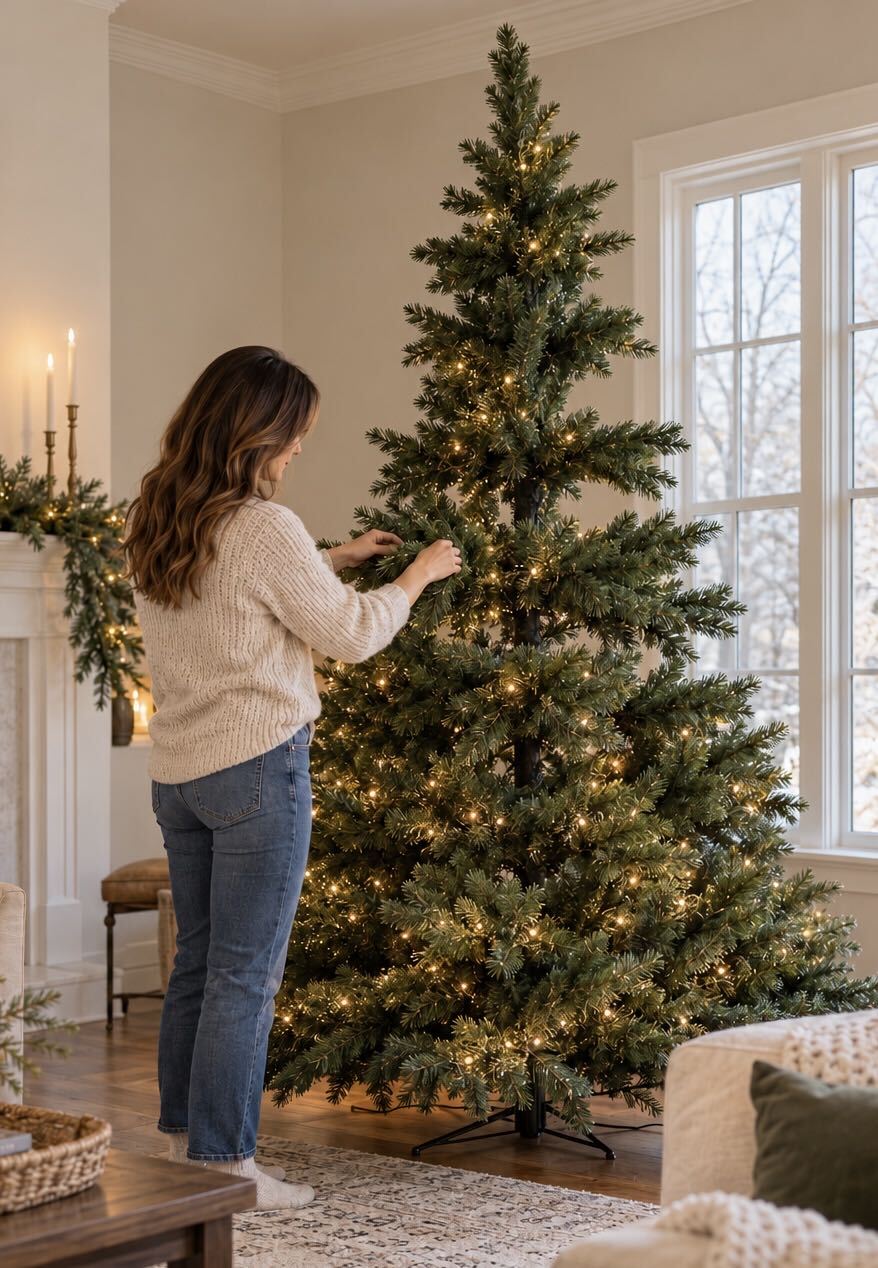
Start with a good fluff. If you’re using a faux tree, take time to separate and shape the branches. Vary their direction for a natural look, working from the inside out to fill gaps. Don’t skip this step—it makes a huge difference.
-
02
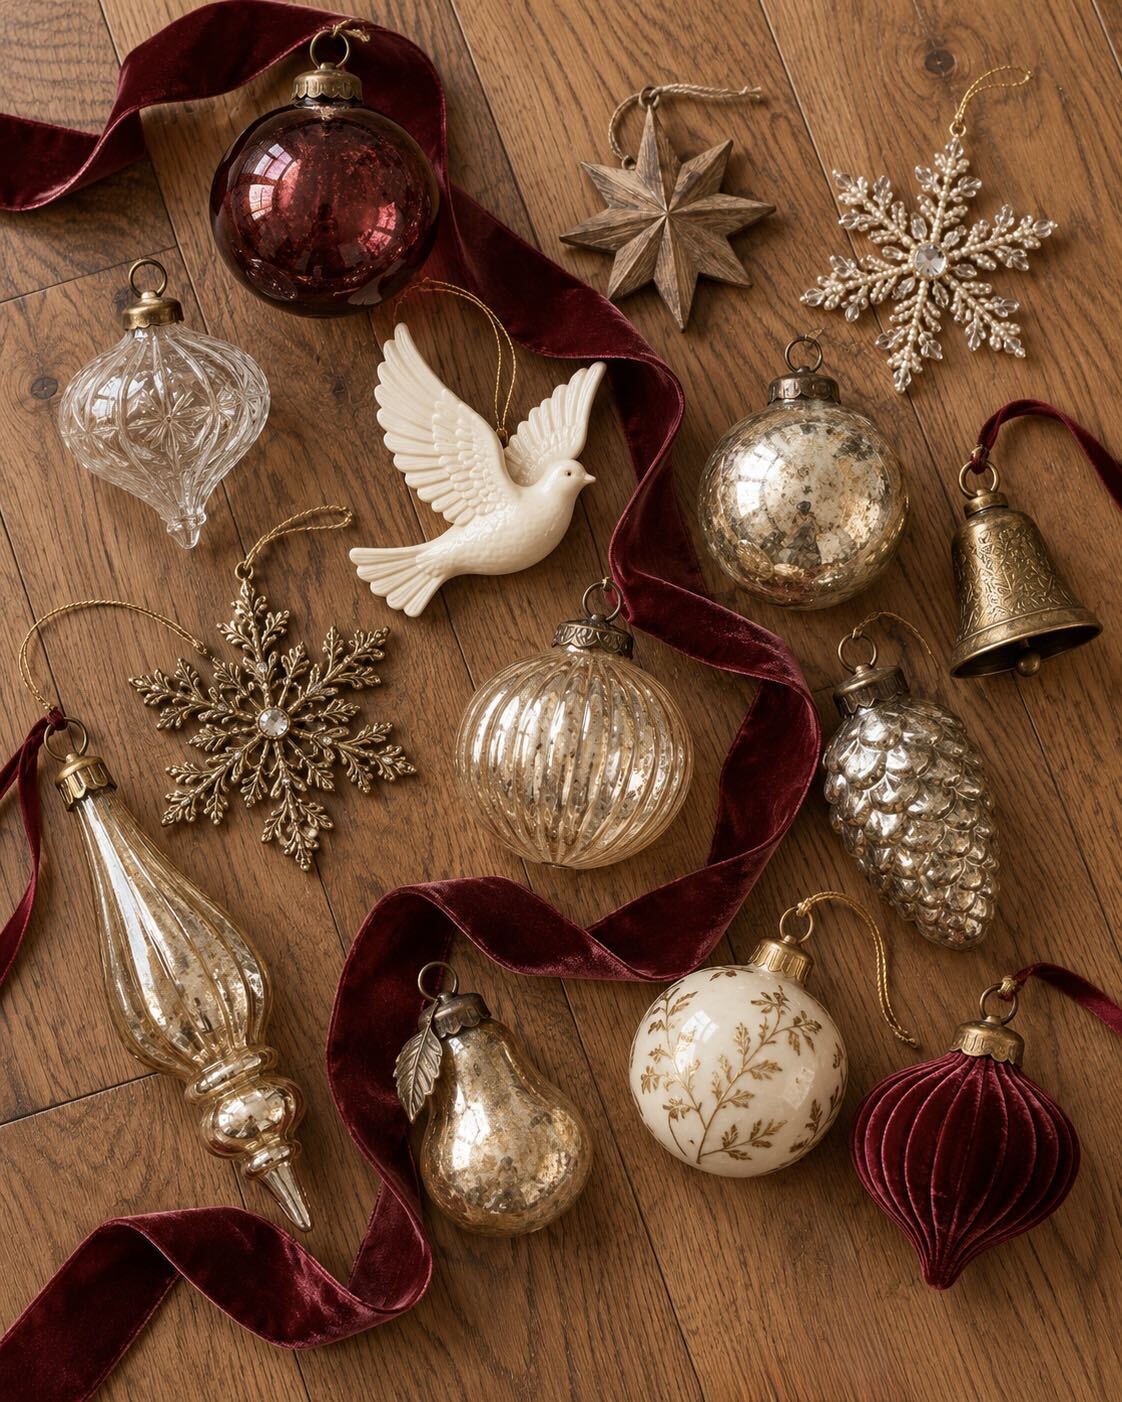
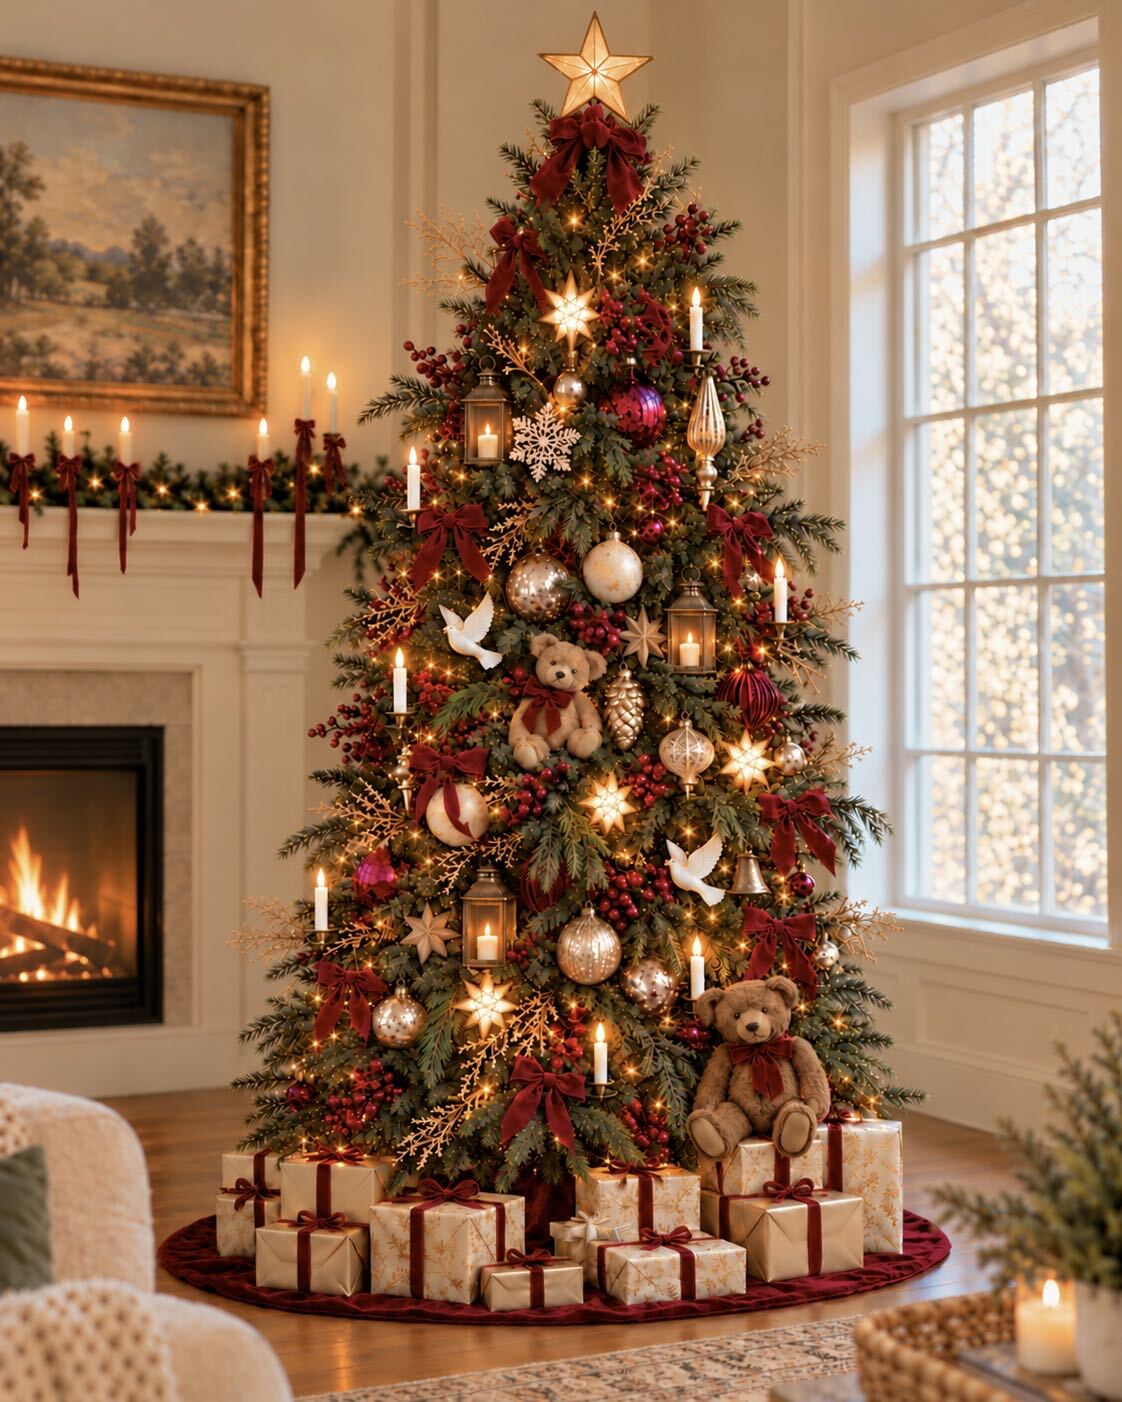
Choose your direction. Decide on an overall feeling and color palette. You don’t need all new ornaments: repeating a few colors, materials, or staple ornaments helps your treasured, collected pieces feel harmonious.
-
03
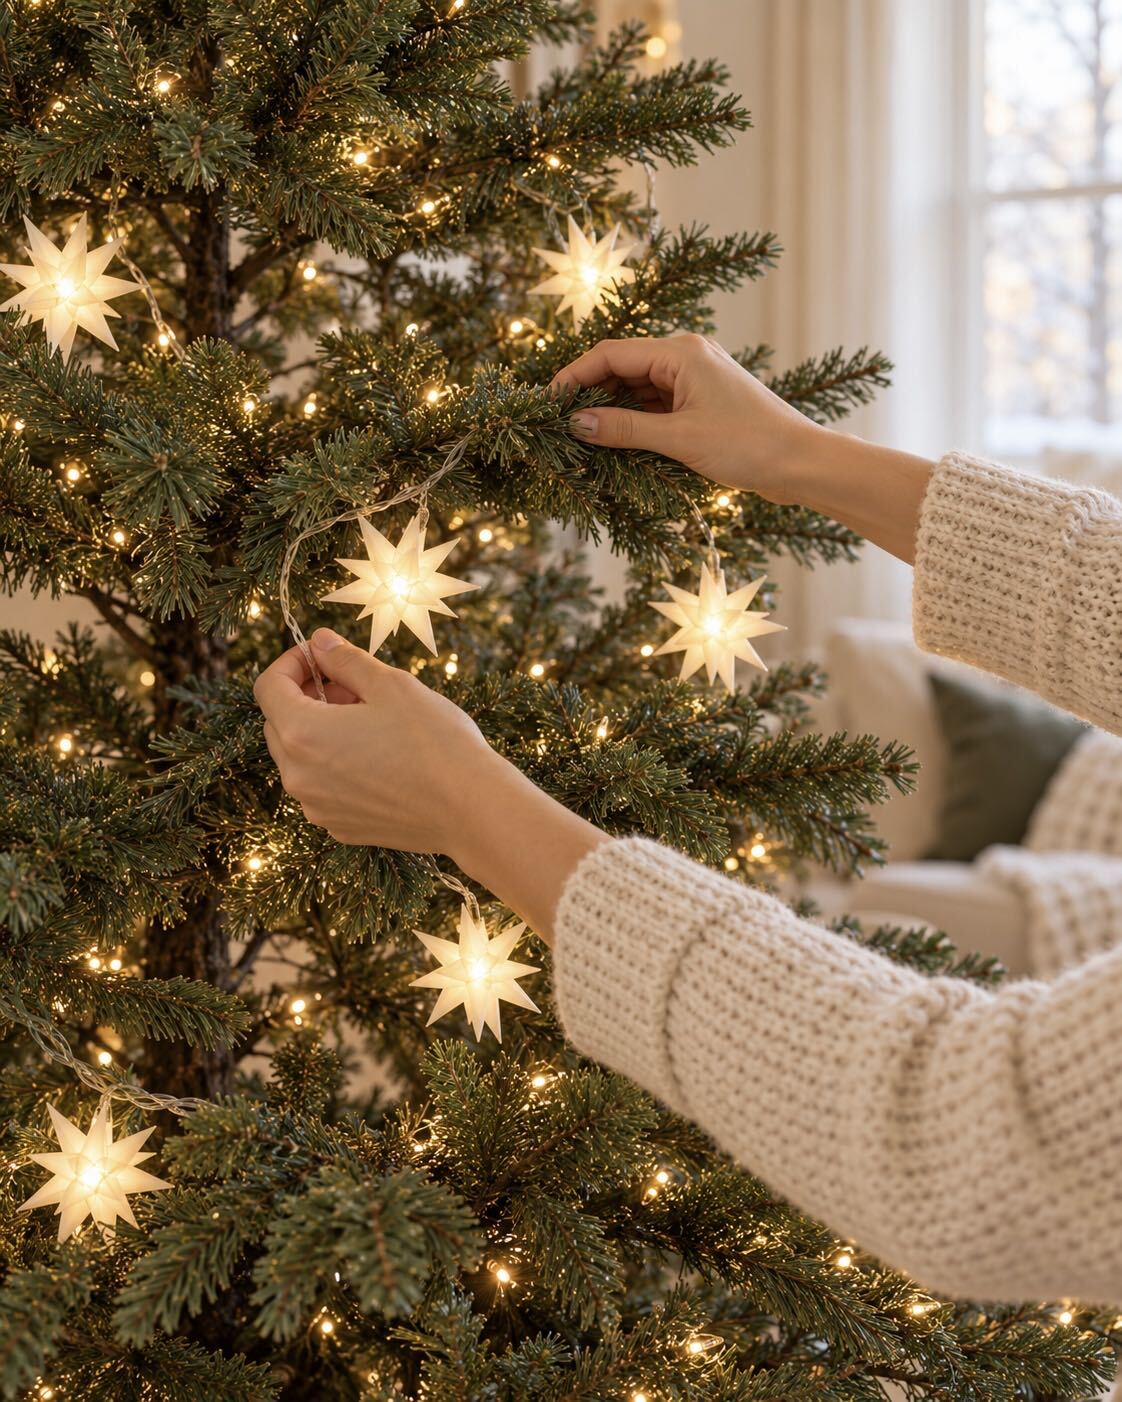
Layer your lights. Even a pre-lit tree can benefit from another layer. Mix tiny lights with larger C7 or C9 bulbs, add vintage-style multicolor lights for nostalgic charm, or weave in a strand of softly twinkling lights for a little movement and magic. This works beautifully on real trees, too.
-
04
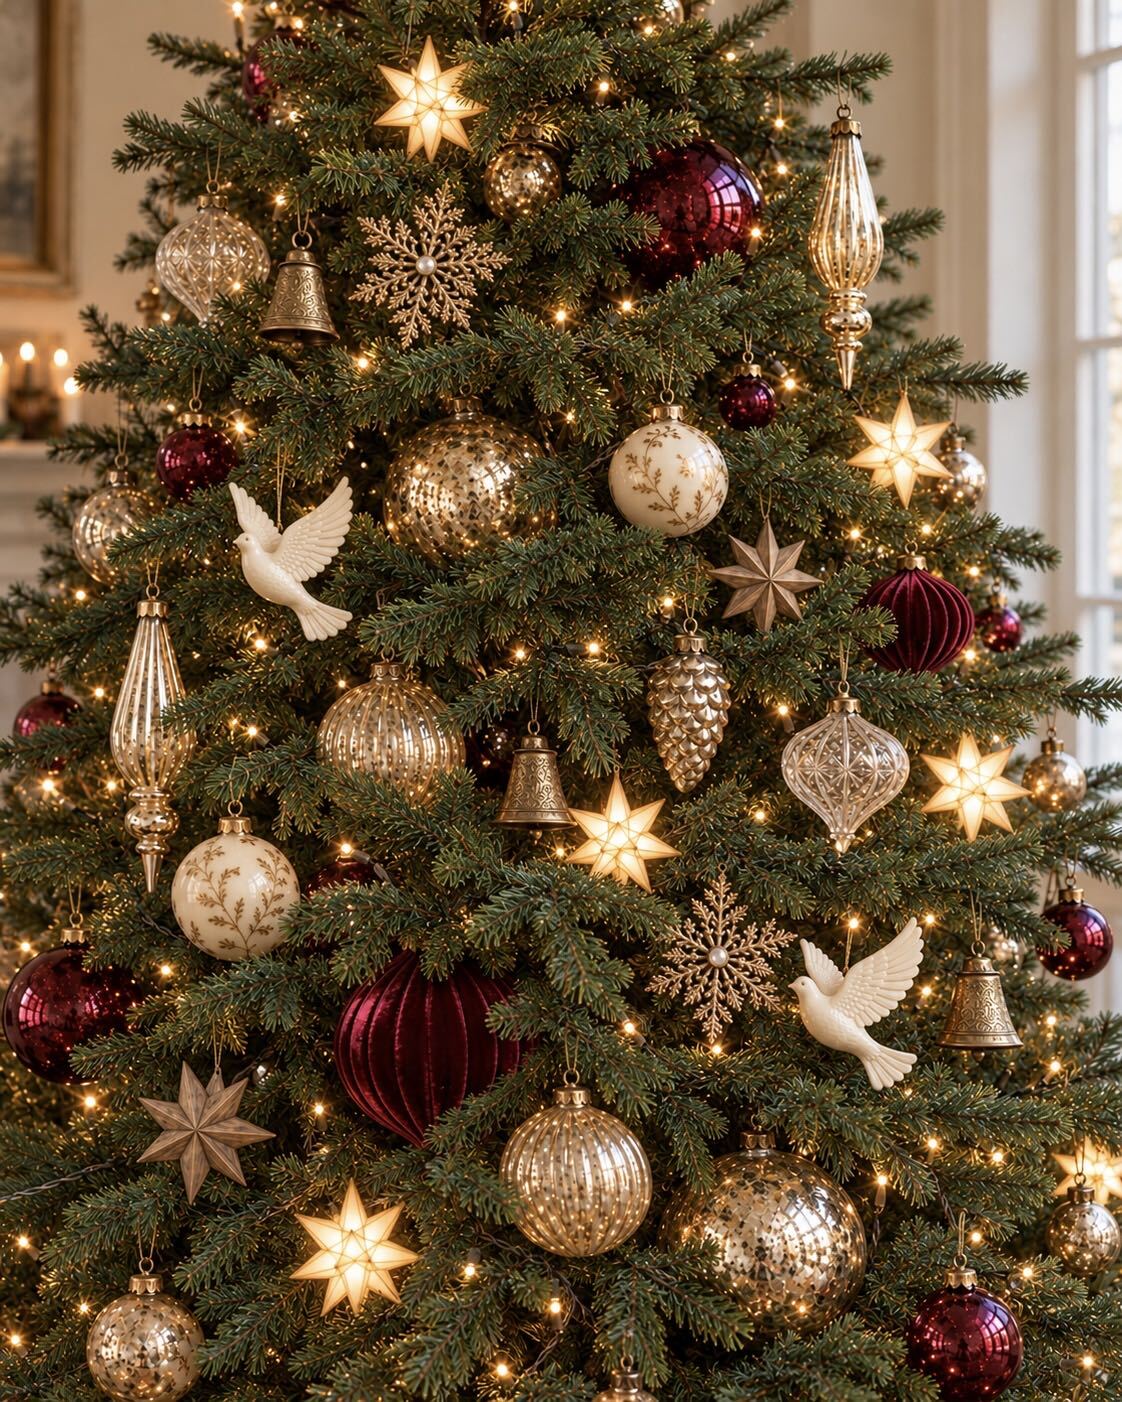
Mix sizes and create depth. Combine oversized ornaments with medium and small ones. Nestle larger pieces deeper into the branches, closer to the trunk, and bring smaller ornaments toward the tips for a richly layered look.
-
05
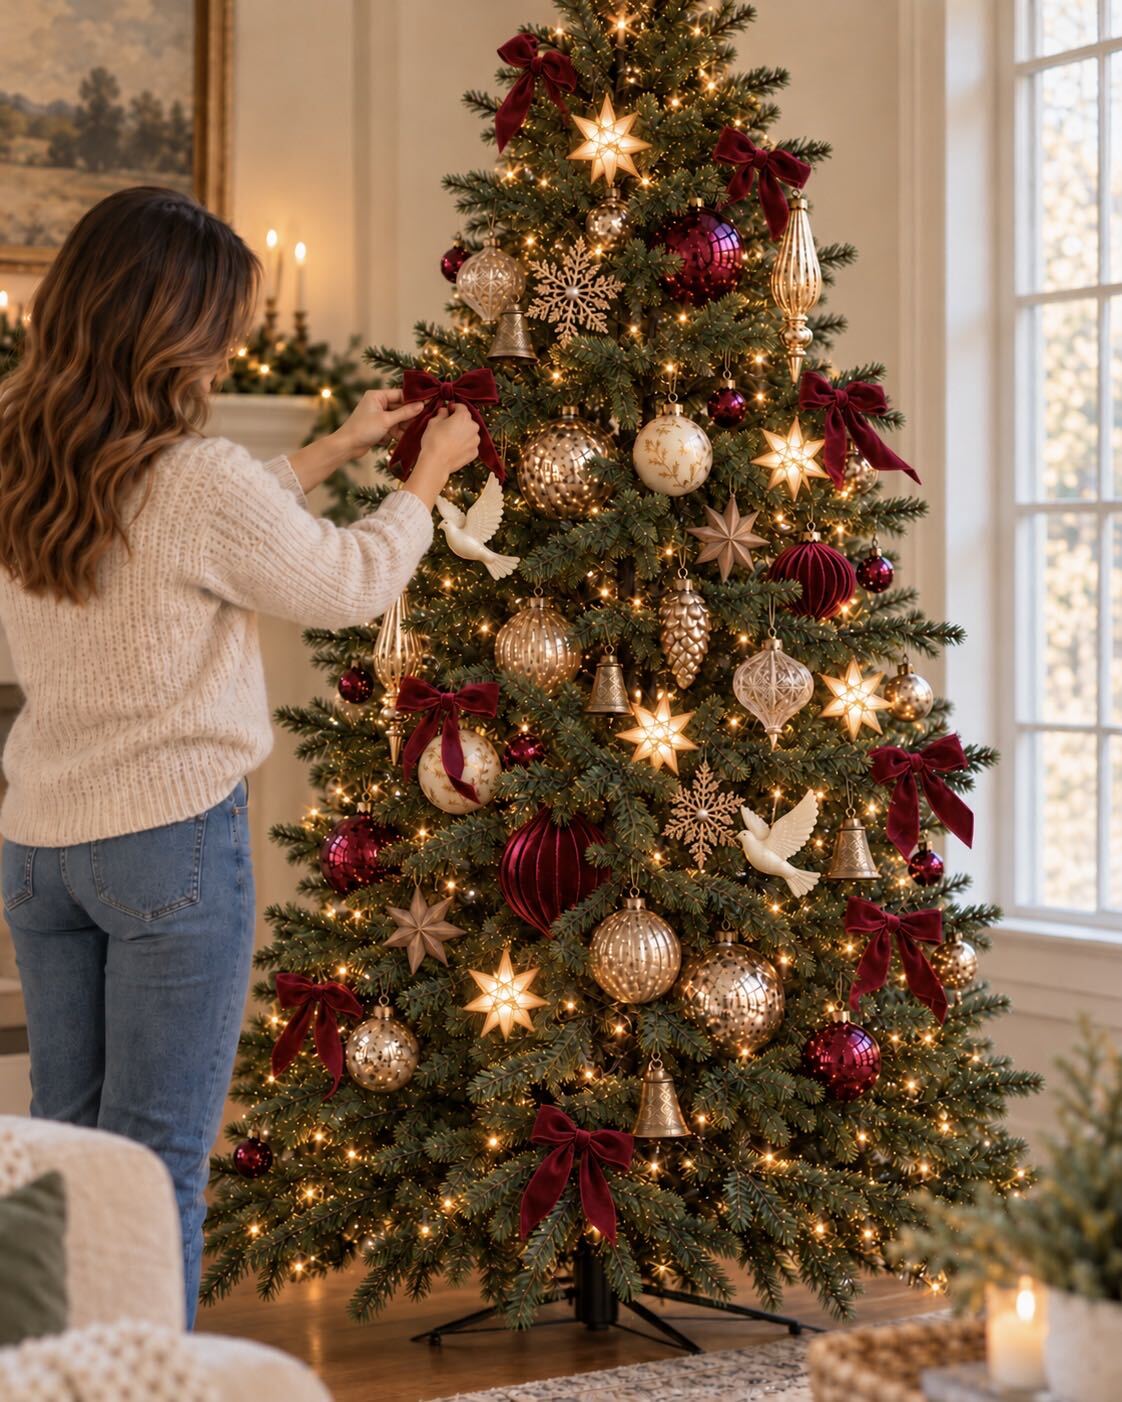
Weave in ribbon—or tie on bows. Tuck ribbon loosely through the branches or add individual bows at the ends. Velvet, plaid, satin, or something wonderfully unexpected can help carry your palette throughout the tree.
-
06
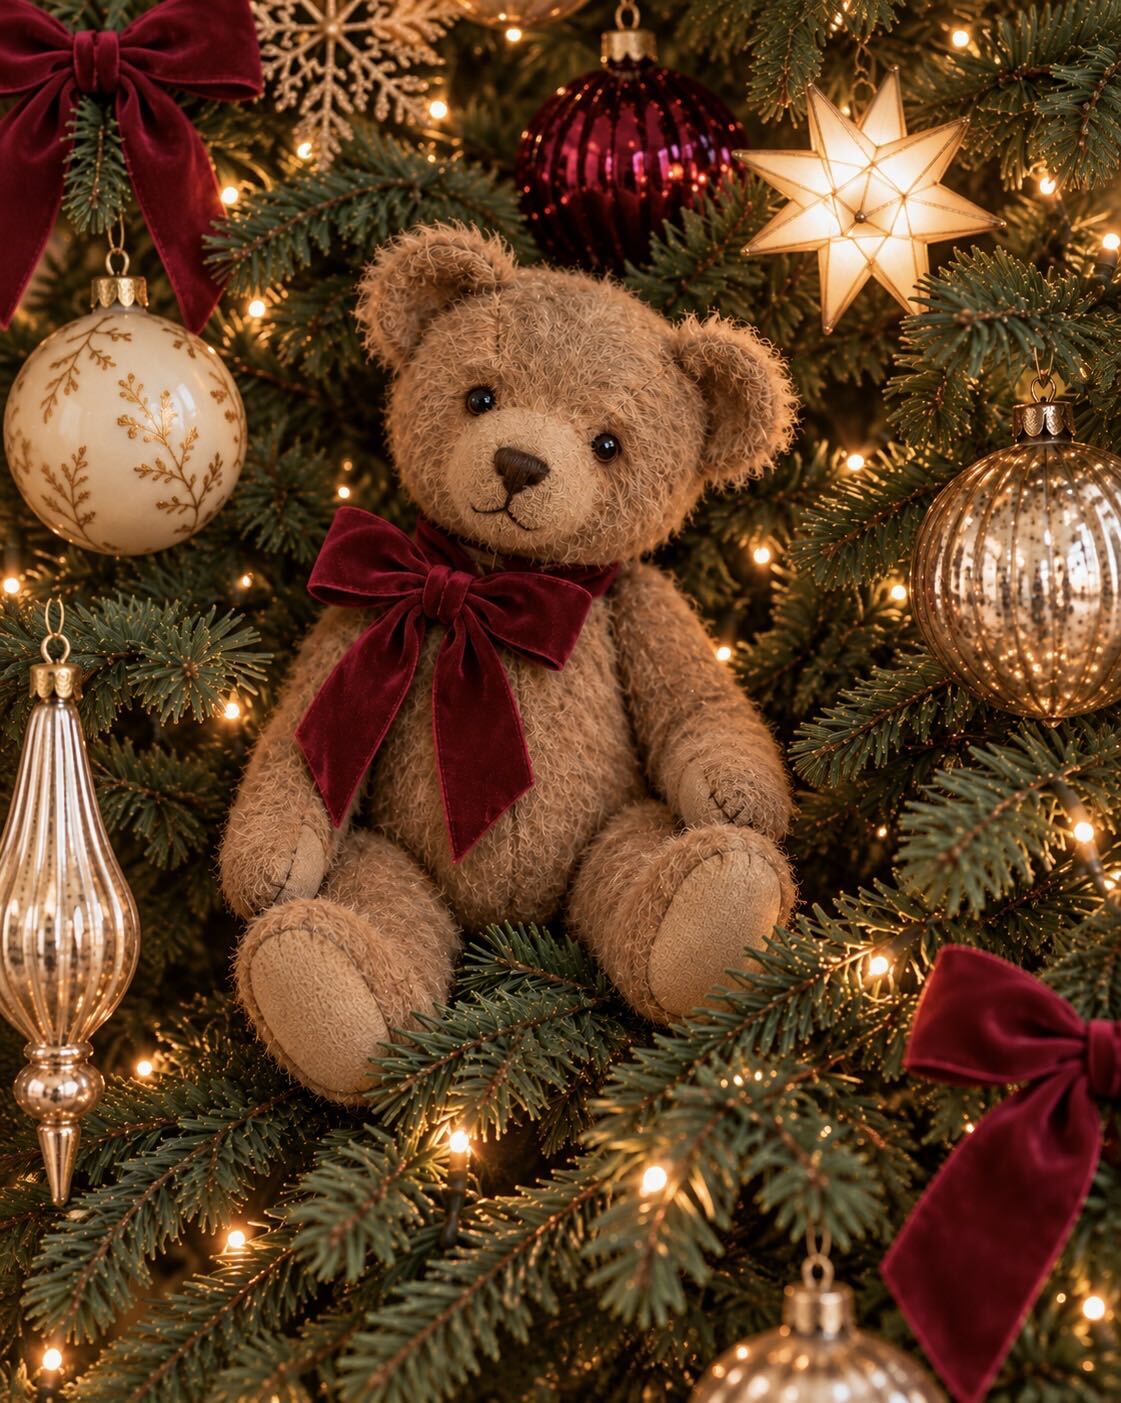
Add a little surprise. Think beyond ornaments: vintage teddy bears, baskets, decorative birds, miniature houses, or a lightweight lantern with a flameless candle. Secure pieces carefully and let a few larger finds become focal points.
-
07
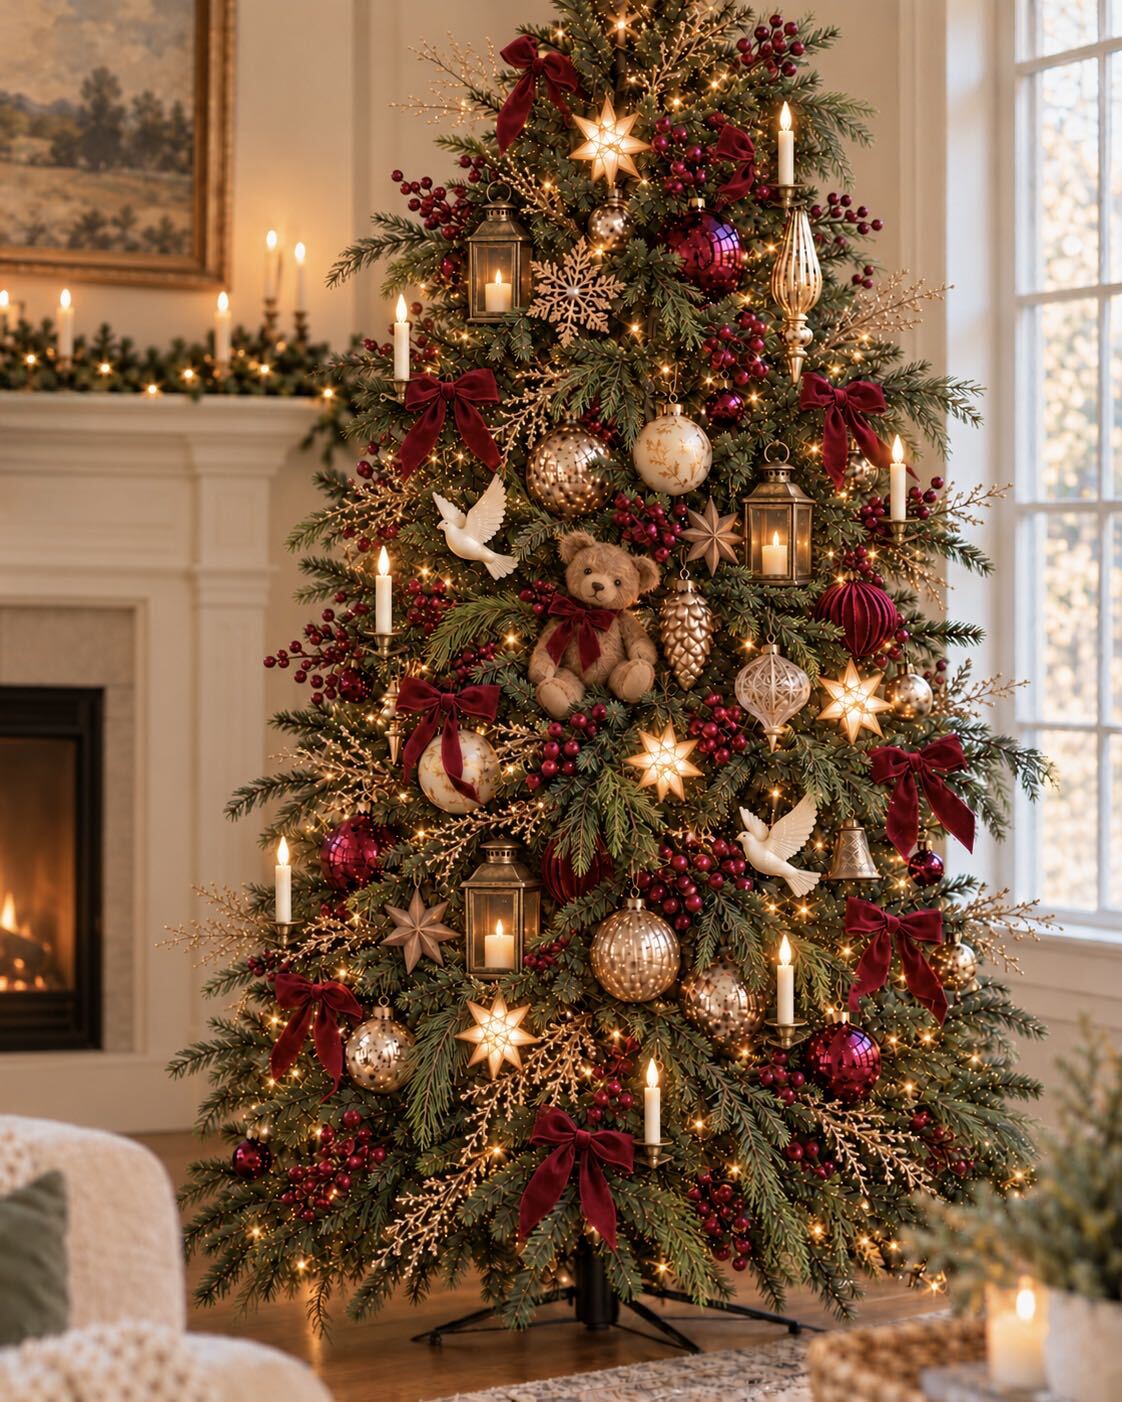
Bring in branches and blooms. Add floral picks, dried hydrangeas, berry sprays, or decorative branches. Tuck some deeper into the tree and let others extend beyond its outline for texture and a less uniform silhouette.
-
08
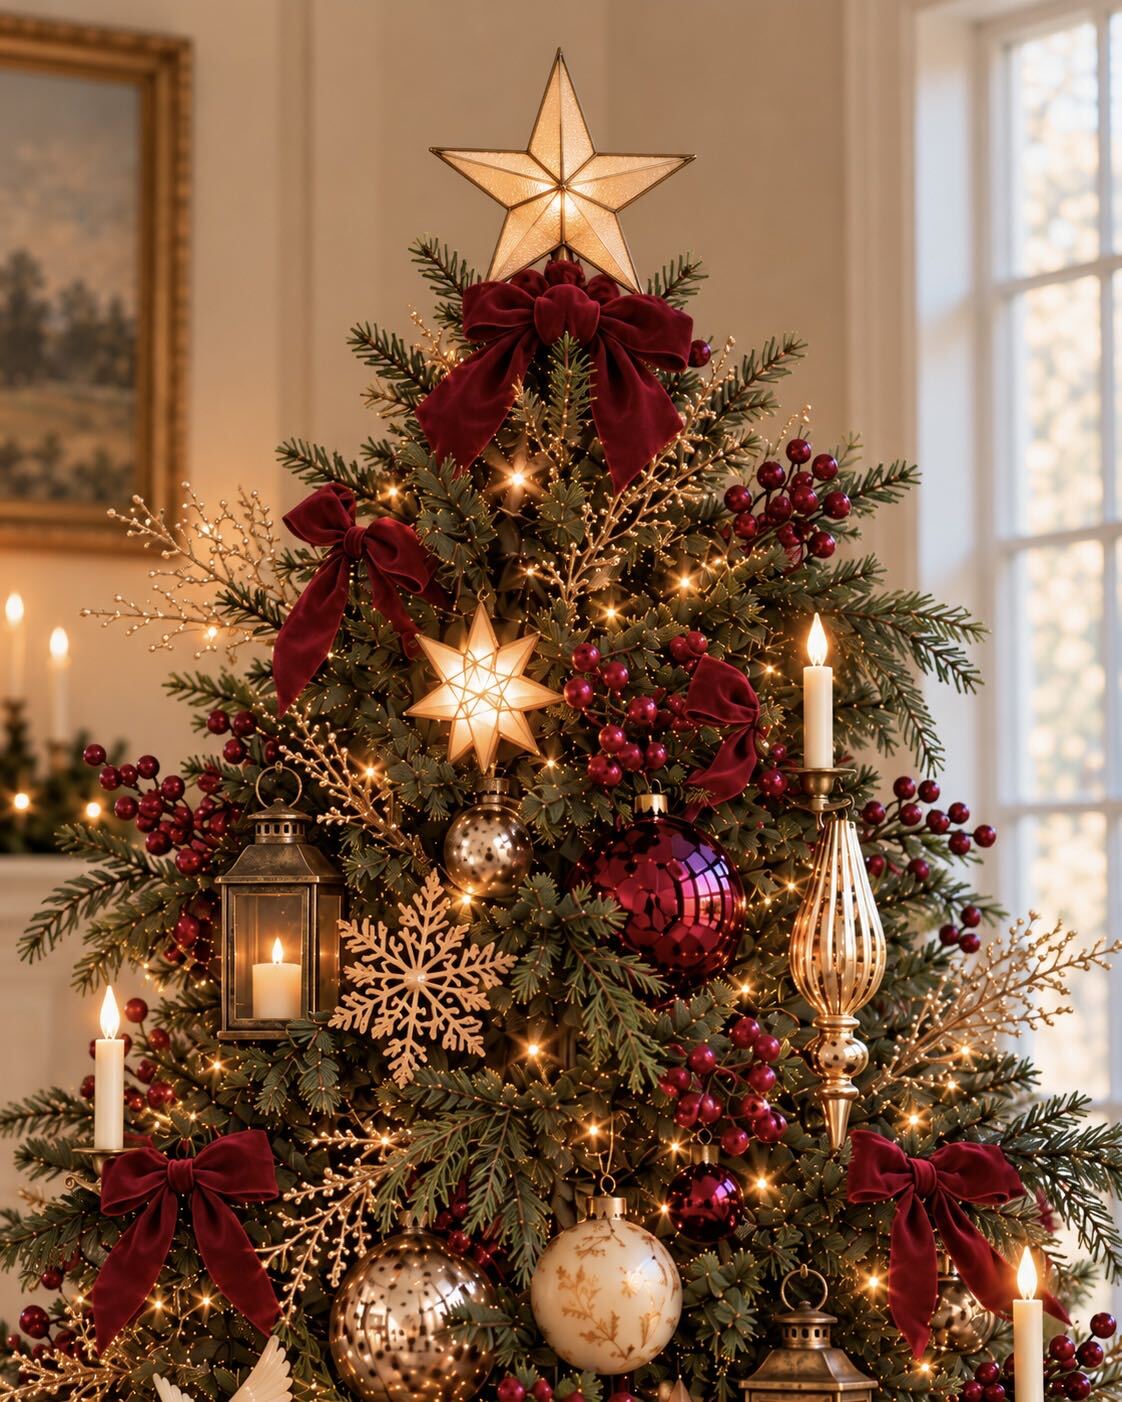
Give it a finishing crown. Try a generous bow with trailing ribbon, a vintage-style star, an angel, or a cluster of branches and floral sprays. Choose something that feels connected to the rest of your tree.
-
09
Step back, then add the finishing touches. Look for gaps and check that colors and larger pieces feel balanced. A little tinsel, delicate garland, or a few final picks can add just the right finishing layer.
-
10
Set the scene around your tree. Finish the base with a skirt, collar, or beautifully draped fabric, and coordinate your gift wrap with a mix of patterns and ribbons. A vintage-style mirror positioned behind the tree can reflect its lights and ornaments, revealing another view and adding beautiful depth. Keep surrounding touches thoughtful and simple so they complement the tree and let it remain the star.
Design tips
The Secret to a Beautiful Christmas Tree
A step by step process to a beautifully layered Christmas tree—and the personal touches that make it yours.
2 min read
Your home. Beautifully styled. Your way.
Upload a photo of your space. See it beautifully reimagined, then shop the look to bring it to life.